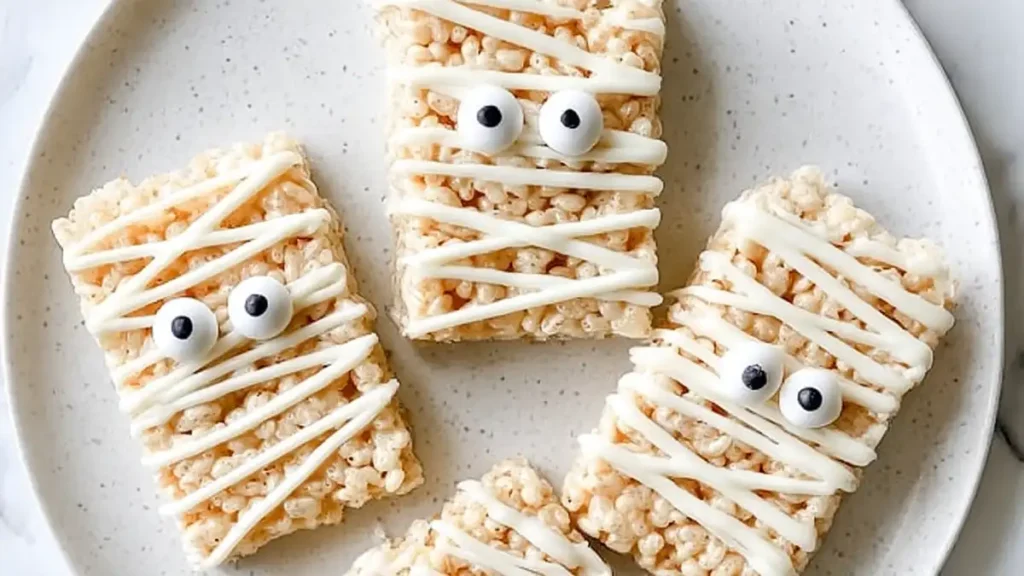
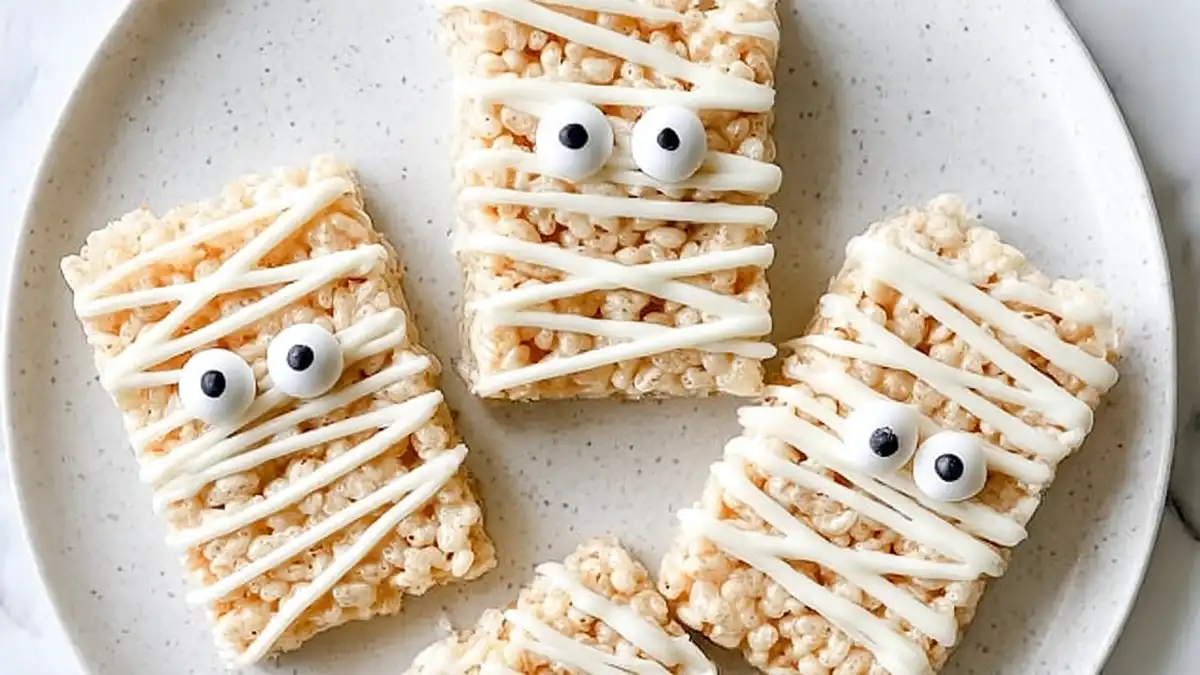
Spooktacular Mummy Rice Krispie Treats: A Halloween Delight for the Family!
These Mummy Rice Krispie Treats are not just a sweet snack; they are a fun family project that whips up in under 30 minutes! Get ready to bring some Halloween magic into your kitchen with this easy, seasonal treat that kids and adults alike will adore.
As the leaves turn and the nights grow longer, I find joy in creating Halloween-themed goodies that bring excitement to our family gatherings. There’s something incredibly comforting about gathering around the table to make a treat that not only tastes good but looks adorable too. Picture this: your kitchen filling with laughter and the sweet aroma of melted marshmallows as you create these delightful mummies together.

Why You’ll Love These Little Ghosts
These Mummy Rice Krispie Treats are the epitome of easy, cozy cooking. Made with just a handful of ingredients, they are quick to put together and can be decorated in countless fun ways. Plus, who can resist a sweet little treat that’s as charming as it is delicious?
Crafting Your Mummy Rice Krispie Treats
Ingredients:
- 3 Tbsp. butter
- 5 1/2 cups mini marshmallows or 1 10 oz. bag of mini marshmallows
- 6 cups Rice Krispies cereal
- 8 oz. white chocolate; melted or melting candy
- 20 candy eyeballs or mini chocolate chips
Directions:
Melt the Butter and Marshmallows: In a large saucepan, melt the butter over low heat. Once melted, add in the mini marshmallows, stirring until they are completely melted and combined.
Mix in the Cereal: Remove the saucepan from heat and fold in the Rice Krispies cereal until evenly coated with the marshmallow mixture.
Shape the Treats: With a little butter on your hands, press the warm mixture into a greased rectangular pan, creating an even layer. Let it cool completely.
Melt the White Chocolate: While the treats cool, melt the white chocolate in a microwave-safe bowl in 30-second intervals, stirring until smooth.
Dress Up Your Mummies: Once the Rice Krispie treats are cool, cut them into rectangles. Drizzle the melted white chocolate over the treats, creating a “bandage” effect. Quickly place the candy eyeballs or mini chocolate chips before the chocolate sets.
Serving Your Mummy Treats
These mummies make a joyful addition to any Halloween party. Arrange them on a spooky platter and watch your guests’ eyes light up with delight as they discover these delectable, creepy snacks.
Storing Your Sweet Creeps
Keep your Mummy Rice Krispie Treats fresh by storing them in an airtight container at room temperature. They’re best enjoyed within a week, but trust me, they’ll disappear faster than you can say “Boo!”
Simple Tips for Perfect Mummy Treats
- Use Fresh Ingredients: Fresh marshmallows lead to a fluffier and tastier treat.
- Add More Fun: Consider decorating with spooky sprinkles to give your mummies even more personality!
- Make it a Family Affair: Let the kids help with the decorating for a creative bonding experience.
Variations to Explore
Want to shake things up? You can replace the white chocolate with dark chocolate for a spooky twist or add colorful sprinkles or candy corn for a pop of color. The possibilities are endless!
FAQs
Can I use large marshmallows instead of mini?
Yes, you can! Just cut them into smaller pieces to make melting easier.
How do I make these nut-free?
This recipe is naturally nut-free, but always check your ingredients to be safe.
Can I make these ahead of time?
Absolutely! You can make these treats a couple of days in advance and store them in an airtight container until you are ready to serve them.
Creating these Mummy Rice Krispie Treats is sure to add a delightful touch to your Halloween festivities. With their simple instructions and charming appearance, they’re a go-to recipe that will make you the star of any holiday gathering. Happy crafting!

