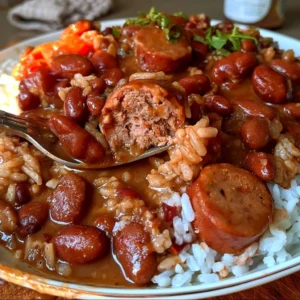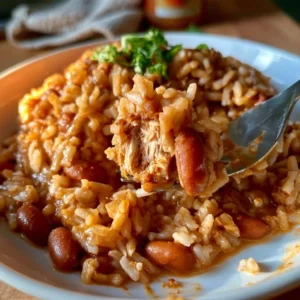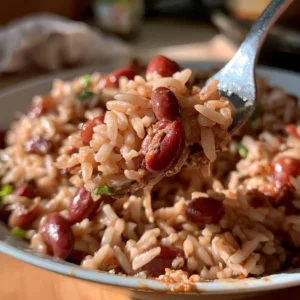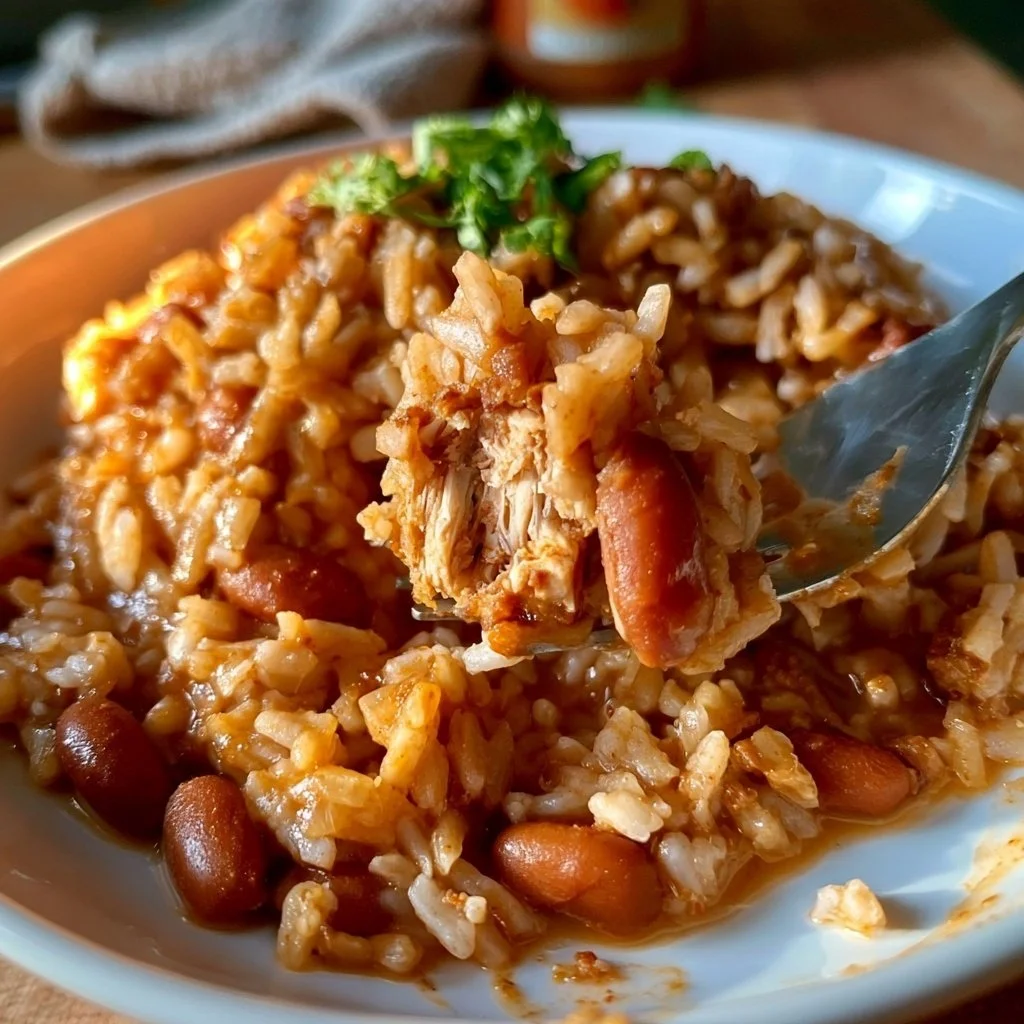
Onion and garlic sauté in the Instant Pot on sauté mode for 3 to 4 minutes, until fragrant. Rinsed red beans, raw rice, broth, cumin, chili powder, salt, and pepper go in together. High pressure for 30 minutes, natural release for 10 minutes, then quick release. Fluff with a fork before serving. Best eaten fresh the same day, but reheats on the stove with a splash of broth if needed.
What happens when you make it right
Do not fill the Instant Pot past the halfway mark; beans and rice both expand under pressure, and overfilling clogs the valve. Let the natural release run the full 10 minutes before switching to quick release; cutting it short makes the rice gummy and the beans uneven. When the beans mash easily and the rice is fluffy, it is done.
What goes in
- 1 cup red beans, rinsed
- 1 cup rice (white or brown)
- 4 cups vegetable broth or water
- 1 onion, chopped
- 2 cloves garlic, minced
- 1 teaspoon cumin
- 1 teaspoon chili powder
- Salt and pepper to taste
- Optional toppings: cilantro, avocado, lime
The star ingredient in this dish is the red beans. They not only provide protein but also offer a creamy texture once cooked.
How it comes together
- Rinse the red beans and soak them overnight if you prefer a softer texture. This step helps achieve a better consistency.
- In the Instant Pot, sauté the chopped onion and minced garlic until translucent. This allows the flavors to enhance throughout the dish.
- Add the rinsed red beans, rice, vegetable broth, cumin, chili powder, salt, and pepper to the pot. This is where the magic begins to happen as the ingredients meld together.
- Close the lid and set the valve to sealing. Cook on high pressure for 30 minutes. The beans and rice will absorb all the flavors.
- Allow it to naturally release for 10 minutes before quick releasing. This extra time lets the beans finish cooking gently.
- Fluff with a fork and serve with optional toppings like cilantro or lime. The simple act of fluffing gives the final dish an inviting look.
Total time to make this recipe is approximately 50 minutes. You know it’s done when the beans are tender and the rice is fluffy.
Servings and nutrition
- Servings: 4
- Calories: 320 per serving
- Protein: 12g
- Carbs: 60g
- Fat: 2g
- Fiber: 15g
These are estimates. Exact values depend on specific brands and portion sizes.
Time and temp
- Sauté onion and garlic: 3-4 minutes at medium heat, until translucent.
- Pressure cook: 30 minutes at high pressure. Beans are tender.
- Natural release: 10 minutes. Steam reduces slowly.
Total: 50 minutes.
The biggest timing mistake is not allowing the natural release time. This can lead to unevenly cooked beans or a mushy texture.
What goes wrong
- Mistake: Not soaking the beans overnight.
- Result: They may remain too firm or take longer to cook.
- Fix: Always soak the beans to ensure a consistent texture.
- Signal: They should be soft and tender when done.
- Mistake: Skipping the sauté step for onions and garlic.
- Result: Lacks depth of flavor, making the dish taste bland.
- Fix: Always sauté them until translucent.
- Signal: When they start to soften and are aromatic.
What separates a good result from a bad one is a well-soaked bean and properly sautéed aromatics.
Swaps that don’t break it
- Rice to quinoa: offers a nuttier flavor and needs only minor cooking adjustments.
- Vegetable broth to chicken broth: provides a different depth but stays compatible.
- Cumin to coriander: changes the flavor slightly while maintaining the dish’s essence.
Don’t hesitate to experiment with the spices to fit your taste preference.
Serving this
- Fresh lime wedges: add a bright acidity that balances the dish.
- Sliced avocado: provides creaminess and a lovely texture contrast.
- Cilantro: adds freshness that enhances the overall taste.
Serving with fresh lime and avocado completes the meal perfectly by elevating the flavors.
Storing leftovers
- Fridge: 3-4 days in an airtight container.
- Freezer: Not recommended, as beans will get grainy upon thawing.
- Reheat: On the stove at medium heat with a splash of broth until warmed through.
- Next day: The flavors might become more pronounced, but the dish will lose some texture.
Store with caution. The beans can soften and lose their integrity when kept for too long.
One last thing
One specific thing to note about this recipe is that soaking beans not only softens them but also cuts down on cooking time. Next time, consider adding diced bell peppers for an extra layer of flavor. With kids’ busy sports schedules, this dish can be made quickly, ensuring dinner is on the table without hassle.
Questions about this recipe
Can I make Instant Pot Rice and Beans ahead of time?
You can prepare it a day in advance and reheat when ready. Just store in an airtight container in the fridge.
How long does Instant Pot Rice and Beans keep in the fridge?
Stored properly, it lasts 3-4 days. Just make sure to cool it before refrigerating.
Can you freeze Instant Pot Rice and Beans?
Not recommended, as the beans will lose their texture and become mushy upon thawing.
What can I substitute for red beans?
You can use black beans or pinto beans, but adjust cooking time as needed for softer beans.
Rinsing and soaking beans does make a difference, and this recipe will leave you satisfied on any busy night. If you’re looking for something equally easy, check out this creamy chicken and rice recipe for a change of pace.
Print
Instant Pot Rice and Beans
- Total Time: 50 minutes
- Yield: 4 servings 1x
- Diet: Vegetarian
Description
A quick and flavorful dish of red beans and rice cooked in the Instant Pot, perfect for busy nights.
Ingredients
- 1 cup red beans, rinsed
- 1 cup rice (white or brown)
- 4 cups vegetable broth or water
- 1 onion, chopped
- 2 cloves garlic, minced
- 1 teaspoon cumin
- 1 teaspoon chili powder
- Salt and pepper to taste
- Optional toppings: cilantro, avocado, lime
Instructions
- Rinse the red beans and soak them overnight if desired.
- Sauté the chopped onion and minced garlic in the Instant Pot until translucent.
- Add the rinsed red beans, rice, vegetable broth, cumin, chili powder, salt, and pepper to the pot.
- Close the lid and set the valve to sealing.
- Cook on high pressure for 30 minutes.
- Allow it to naturally release for 10 minutes before quick releasing.
- Fluff with a fork and serve with optional toppings.
Notes
Best eaten fresh the same day, but reheats on the stove with a splash of broth if needed.
- Prep Time: 10 minutes
- Cook Time: 40 minutes
- Category: Main Course
- Method: Pressure Cooking
- Cuisine: Mexican
Nutrition
- Serving Size: 1 serving
- Calories: 320
- Sugar: 2g
- Sodium: 600mg
- Fat: 2g
- Saturated Fat: 0g
- Unsaturated Fat: 1g
- Trans Fat: 0g
- Carbohydrates: 60g
- Fiber: 15g
- Protein: 12g
- Cholesterol: 0mg